Home > Using PhotoTools 25 > Using the Masking Tools > Masking Controls
Masking Controls To use the MaskingBrush you need to select it from the toolbar at the bottom of the window. When you select the brush, the icon will highlight and the tool will appear as a circular brush in the after preview window.
| 
| | To use the MaskingBug you need to select it from the toolbar at the
bottom of the window. When you select the MaskingBug, and click on the image, a MaskingBug will appear on your image. |  | The brush will appear as two concentric circles.
- The outer circle represents the outer edge, or soft edge of the brush
- The inner circle represents the hard edge of the brush
The relationship between the hard edge and soft edge are controlled with the brush size and brush feather controls. | 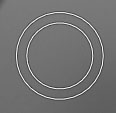 | The Brush Size slider adjusts the overall size of the brush. This is the outer circle of the brush.
- You can adjust the brush size using the left and right bracket keys ( [ or ] ) on your keyboard just like you would in Photoshop
|  | The Feather slider adjusts how hard the edge of the brush is or how hard the edge of the MaskingBug are.
- At a low setting the brush will have a hard, distinct edge. The inner and outer circles will be close together
- At a higher feather setting the brush will have a softer, feathered appearance. The inner and outer circles will be farther apart. Generally, a soft-edged brush will blend the effect in or out in a more realistic way
- You can adjust the brush feather using the shift + left or right bracket keys ( [
or ] ) on your keyboard just like you would in Photoshop
|  | The Opacity slider adjusts how much "paint" is applied with each brush stroke, or how strong the overall MaskingBug are.
- At a low opacity it will take many strokes to paint-in or paint-out an effect. Low settings are good when fine control is required or you want the effect to be subtle
- Higher opacity settings are good when you need to quickly change the strength of an effect
- You can adjust the brush opacity using the number keys on your keyboard (1-0, 1=10%, 2=20% etc.) just like you would in Photoshop.
- With the MaskingBug, an opacity of 100% of the MaskingBug mask is strong, at a lower opacity the mask becomes weaker.
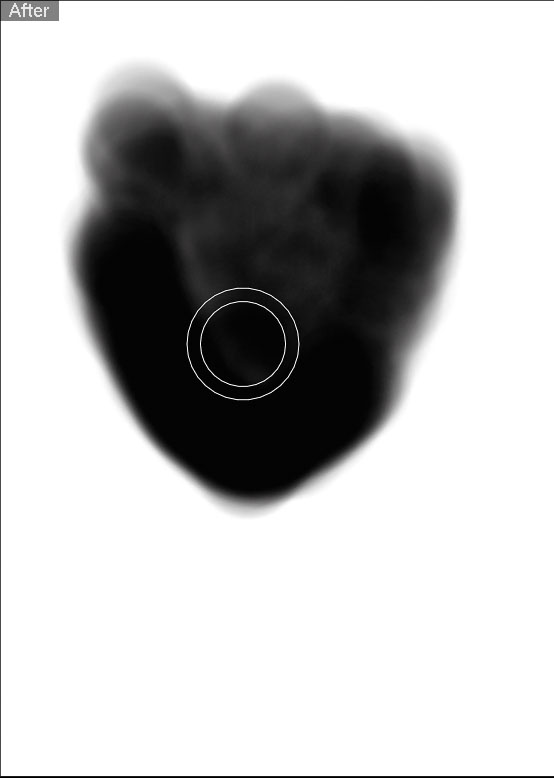
|  | The Paint-in/Paint-out/Erase Toggle changes the "color" that the brush uses.
- In the paint-in mode, the brush paints in white revealing the current effect
- In paint-out mode, the brush paints with black paint which will hide the current effect
- In Erase mode, the brush paints away any brush stroke, either paint in or paint out.
- You can change the paint mode by pressing the "x" keyboard short-cut
|  
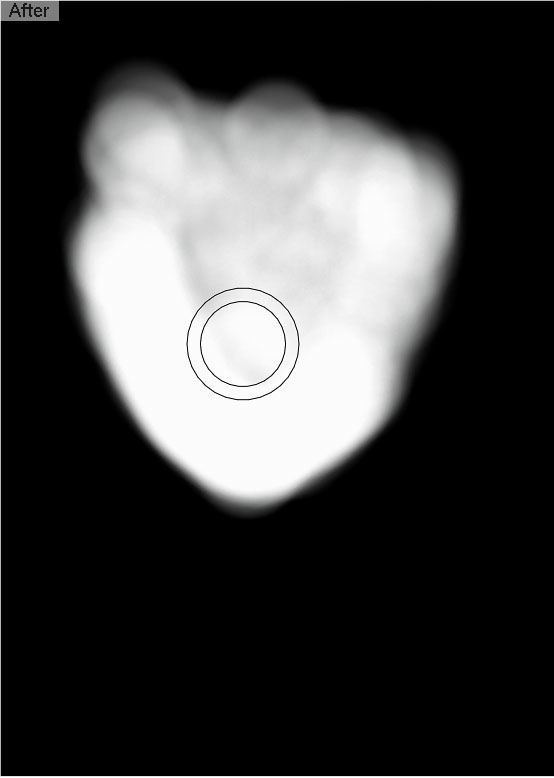
| The Show Mask/Hide Mask Toggle makes the black and white mask visible so you can understand the effect of your mask painting.
- Keep in mind that white areas of the mask show the current effect, while black areas hide the current effect
- You can toggle the viewing of the mask using the command - M (Mac) or controls - M (Windows) keyboard shortcut
| 
| The Invert Mask button will invert the current mask. This can be useful if you wish to paint an effect in that normally applies to the entire image.
- For example if you want to paint-in the Auto Skin Smoother effect to only a small part of the image you could add the effect to your stack and then press the invert mask button to hide the effect and then use the Masking Brush set to paint-in to apply the effect only where you want it
- You can invert the mask using the command - I (Mac) or control - I (Windows) keyboard shortcut
| 
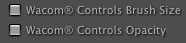
| The Masking Control in PhotoTools supports Wacom® pressure sensitive drawing tablets. This allows you to control both the brush size and opacity with your Wacom tablet.
- If Brush Size is selected the harder you press with your stylus the larger the brush will appear, up to the maximum size set by the Brush Size slider
- If the Opacity is selected the harder you press with your stylus the stronger, or more opaque the brush stroke will appear, up to the maximum opacity set by the Opacity Slider
|  | The Reset Mask button will reset the mask to completely white, revealing the current effect.
|  |
|
 | The
Masking controls requires a video card that supports OpenGL 2.0 or higher.
If PhotoTools detects that you have an incompatible video card, it will
warn you on launch and when you add a Paint-In effect. You can learn more about supported video cards here.
|
See also
|