Home > Using PhotoTools 25 > Using the Masking Tools > Adding Layer Masks
Adding Layer Masks
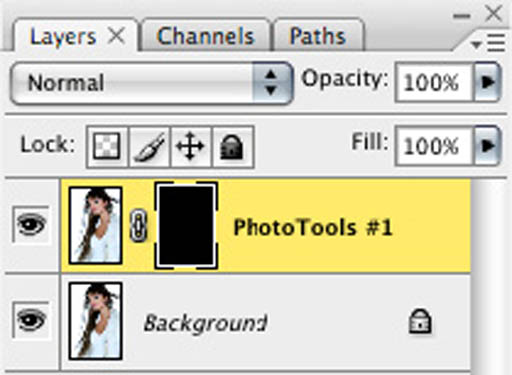
| There are two additional controls at the bottom of the Masking palette that allow you to add a layer mask to the resulting PhotoTools layer that is rendered back to Photoshop. By painting with black on the layer mask you can selectively blend PhotoTools results with the layer underneath it. For example, if you applied a soft-focus effect, you could paint on a layer mask to reveal or protect areas such as a person's eyes or other important details from the soft focus effect. By adding an empty layer mask and painting with black, you reveal information from the underlying layer. Masking Options also allows you to fill the layer mask with black, which effectively hides the results of PhotoTools. Then by painting with white on the layer mask you can reveal, or un-hide the results, allowing you to selectively paint in the results. Below are instructions on using the Masking Options: |  |
|  |
 | The Layer Mask Options are recording into Presets so you can create presets that are designed to be painted-in if you select the Add Layer Mask and Fill with Black options before saving the current stack. |
See also