Home > Quick Start Guide > Waterfall Example
Waterfall Example
| In this first example we will talk about image optimization with PhotoTools. We will start with this raw landscape image which is a little flat (lacks contrast) and has a cool color cast. Using PhotoTools we will correct these problems as well as improve the sharpness and color. Step 1. Open the image in PhotoTools. | 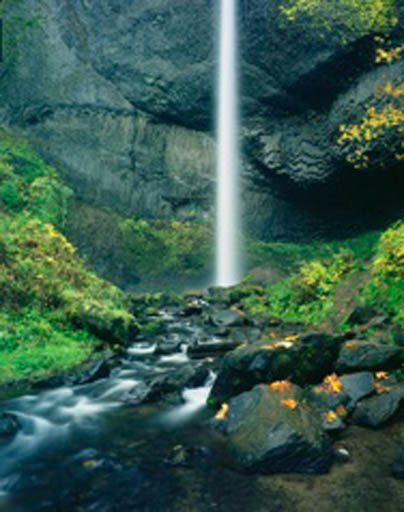 | |
Step 2. Always start off by correcting color and tone first. let’s use the Auto Color & Tone effect, which can be found in the Image Optimize category. This will correct the tone, or contrast range in the image as well as remove any global color casts. | 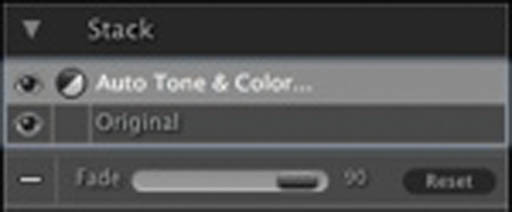 | 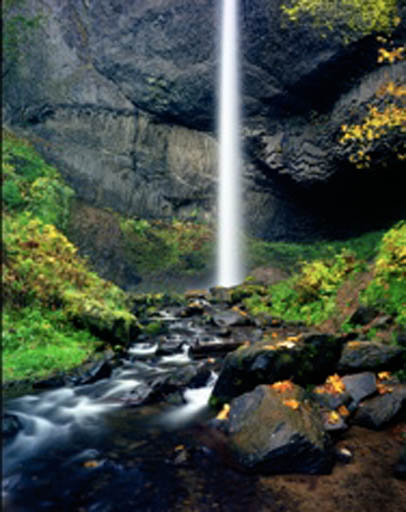 |
Step 3. There appears to still be a bit of a cool color cast in the shadow tones only. This can be easily removed by using the Purify effect, also found in the Image Optimize category. | 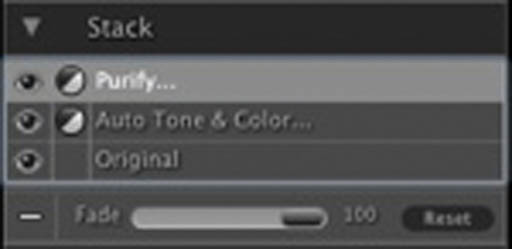 | 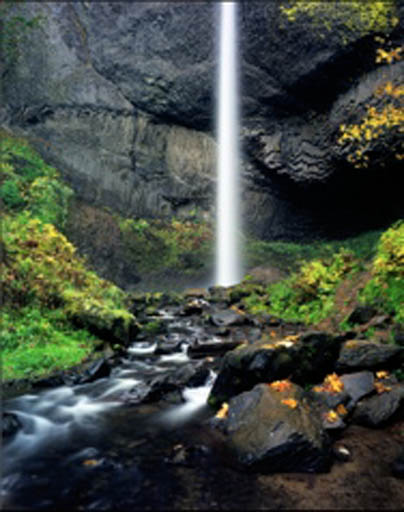 |
Step 4. Now the image is corrected and resembles what the scene would look like naturally. However accurate is not always pleasing in photography, that is one of the reasons photographers select certain films, because the alter the color and tone in a pleasing way and this is why we will add the Velvia® effect, which simulates the increased color and contrast of Fuji® Velvia® film. This is popular with landscape photographers. | 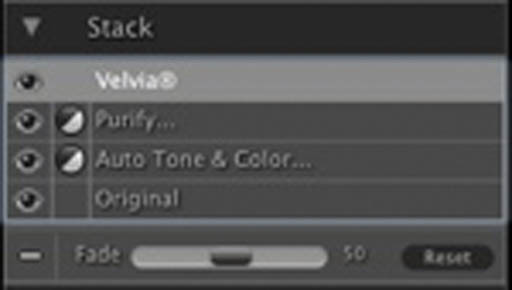 | 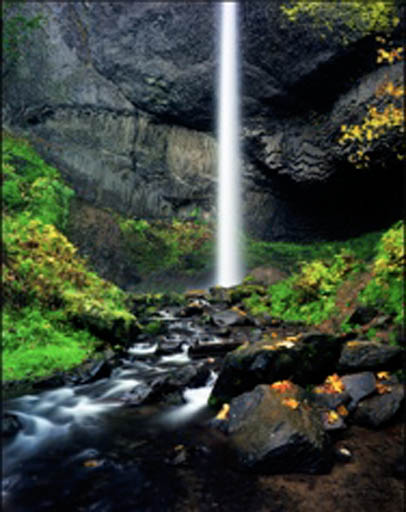 |
Step 5. The next step is to add some sharpness to the image using the Global Sharpening effect in the Landscape Enhance category. Be sure to zoom into 100% when you adjust any sharpening effect. | 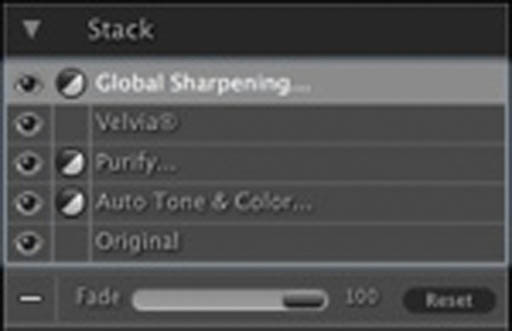 | 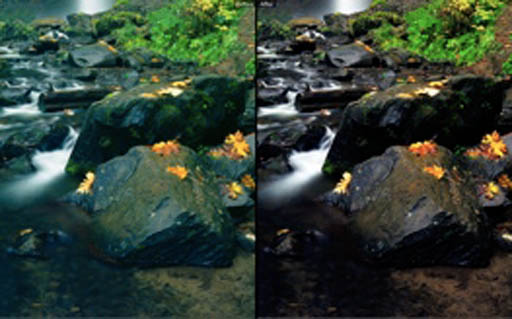 |
Step 6. Finally we add a subtle vignette to burn down the edges and focus the viewer's eye. | 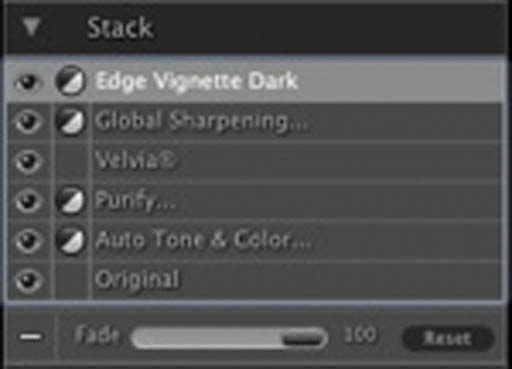 | 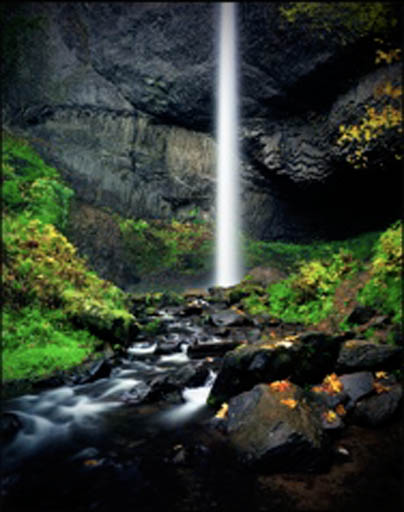 |
See also