Home > Quick Start Guide > Tulip Example
Tulip Example
These tulips represent a general image that we will optimize and convert to black and white.Step 1. Open the image in PhotoTools. | 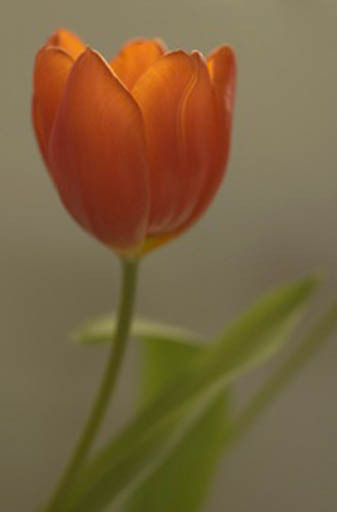 | |
Step 2. A great place to start with most images is the Auto Tone & Color effect from the Image Optimization category. It will correct the tone (contrast range) as well as remove any global color cast. You can see the dramatic effect it had on this image in a single effect. |  | 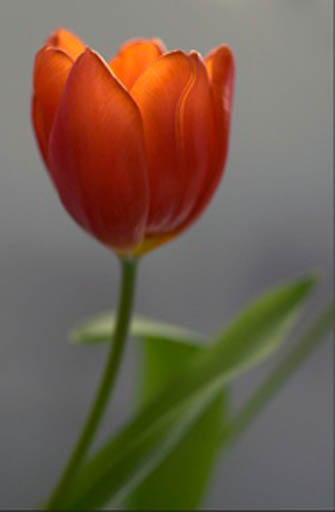 |
Step 3. Next let's convert the image to black and white. I used the Red filter option keep the flower light in tone and push the greens darker. If I change my mind at any step I can roll-back through my stack or double-click on the options icon to reselect an effect option. |  | 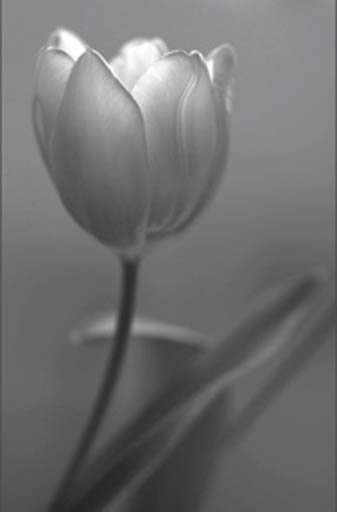 |
Step 4. Often with black and white images I like a little more contrast than with color, so lets us the Global Contrast Boost effect to add a little more punch to the image. Using the fade slider I can control how much contrast is added. | 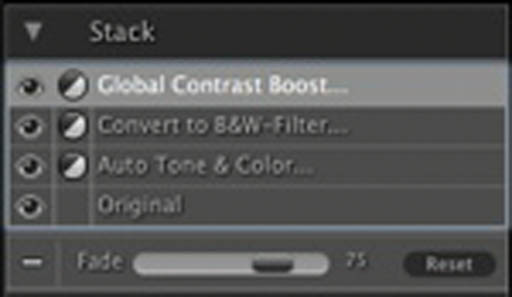 | 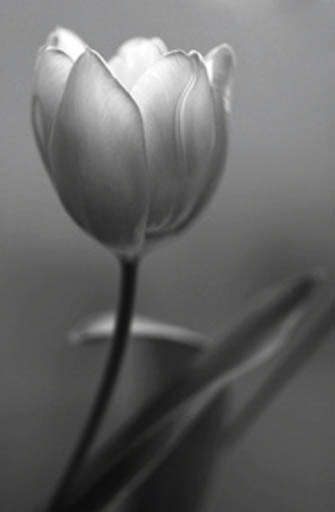 |
Step 5. Things are looking pretty good so far. I think I want to make this a warming tone black and white so let's add the Tint with Clean Whites effect from the Tinting Treatments category and select a warm brown tint. Using the fade slider I can control the amount of warmth. |  | 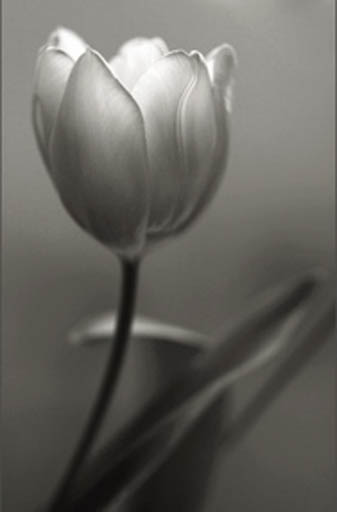 |
Step 6. Last step, let's add a frame to the image. I like the inset frame, located in the Framing Treatments category. It creates a ghosted copy of the original image as a frame for a contemporary look. | 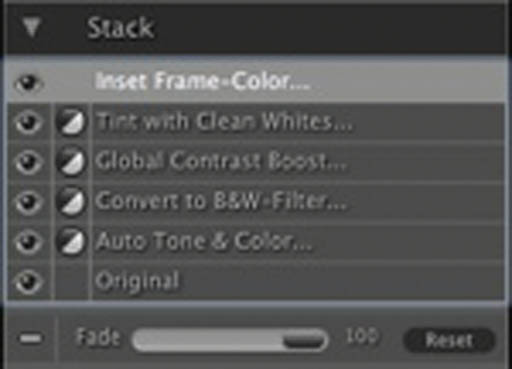 |  |
See also