Home > Quick Start Guide > Pro Mode
PhotoTune 3 in Pro Mode
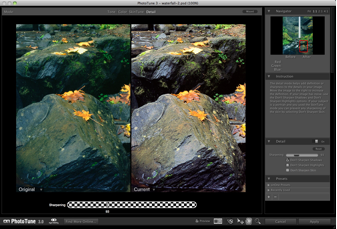
In Pro mode, PhotoTune 3 gives you full access to all adjustments and provides much more control over the end result. The screen has four modes – Tone, Color, SkinTune, and Detail. It’s best to work on images in the order listed, but you can move from one mode to another at any time.
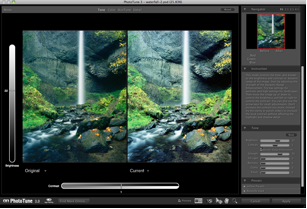
Tone mode
In Tone mode, you have Brightness and Contrast controls on the left and below the preview area. These controls mimic the Brightness and Contrast in the Tone panel. An even more powerful method of adjusting the tone is by dragging the mouse on the image preview. Dragging up or down changes the brightness, dragging left or right changes the contrast.
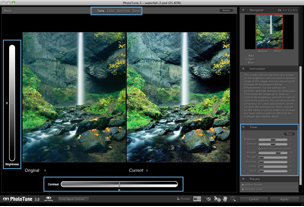
With Dynamic Range Enhancement checked, you have the ability to adjust Fill, Recovery, Clarity, and Punch – similar to the controls found in most RAW image converters. For landscape images, start with a Strength of about 70. Portrait images work best with lower settings.
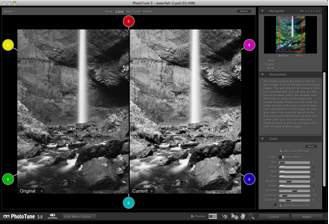
Color mode
The Color mode gives you an option to remove colorcasts automatically, but you can also control all aspects of color adjustment. Like Tone mode, you can use the mouse to drag the image around in the preview area with the colors adjusting according to the direction you drag. You can also adjust individual colors with the sliders or by dragging the color balls.

The Gray Purity and Threshold sliders are useful to remove subtle colorcasts in areas like snow, water, and shadows.
If you’d like to convert your image to black and white, click the toggle box to select Black & White. All the color adjustment options are available to you and work like color filters with black & white film.
There is also a neutral gray dropper tool for removing colorcasts. Simply select the dropper tool and click on areas of the image that should be neutral (contain no color). PhotoTune 3 is unique in that it lets you click on multiple spots to remove complex colorcasts.
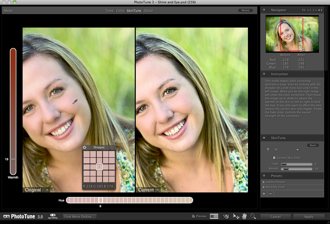
SkinTune mode
The SkinTune mode is used with images with people. Like the Wizard mode, you begin by using the eyedropper to select a middle skin tone, which sets the Hue. Dragging the mouse up and down will adjust the warmth. Dragging left or right will tune the hue of the skin. In the SkinTune panel, you can fade the effect to make it more subtle if you feel the color corrections are affecting your background colors, or you can check the box to correct only skin tones.
Detail mode
The Detail mode is for sharpening your image in PhotoTune 3. You adjust the overall sharpness for your image with the Sharpening slide. If your image has noise, select the Don’t Sharpen Shadows and/or Don’t Sharpen Highlights. If you used the SkinTune mode, you can also choose to not sharpen skin.
See also