Home > Using PhotoTune > Using Pro Mode > Adjusting Skin Color
Adjusting Skin Color
Correcting skin color is one of the most daunting, and time-consuming tasks professional photographers face every day. The problem is that the range of acceptable skin color is very, very limited, and it varies slightly for different races. We spent years studying skin color, and collecting thousands of sample images from around the world. Then, we took precise spectrophotometer measurements and compiled a complete reference database of acceptable colors. What we discovered is that skin color represents less than half of 1% of all available colors. So, it’s no wonder that correction is such a difficult process.
Our next step was to construct complete libraries for different races, including African, Asian, Caucasian, Latin, and Middle Eastern. Each library contains between 120,000 and 150,000 colors made up of different combinations of hue, brightness, and saturation, based on the unique characteristics of each race.
Using SkinTune
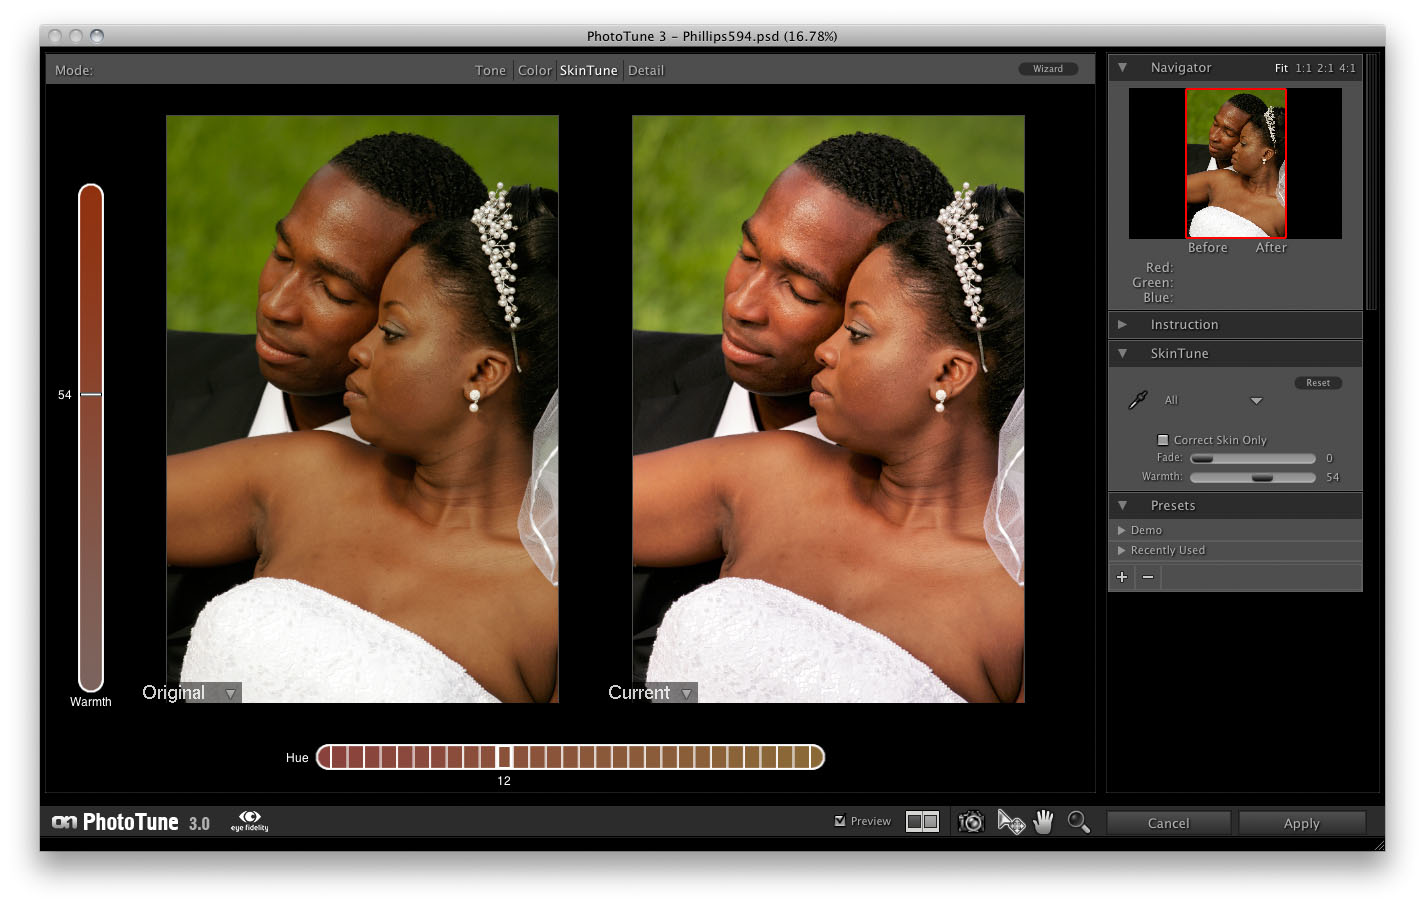
The SkinTune mode of the Pro interface is used for correcting color casts in portrait images. It is the fastest way to get pleasing skin color, simply use the dropper tool to click on the subjects skin in the Left preview image. Then the images color will be corrected instantly by comparing the source color to libraries of hundreds of thousands of properly color corrected skin color samples based on ethnicity. Once you click on your original image, you can use the move tool to adjust the warmth of the image or shift the skin color based on personal preference. The controls for SkinTune are located in the SkinTune panel and are detailed below.
- Skin Dropper:The dropper tool is selected by default when you switch to SkinTune mode. Use it to click on a mid-tone are of the subjects skin. You can click on different spots to change the color correction. As you hover over the image, you can see the change in color previewed in the navigator.
- Ethnicity Pop-up: Selects which ethnicity libraries are used. The default is "All" which contains averages from all ethnicities. You can also select a specific ethnicity from the pop-up for more accurate results.
- Correct Skin Only: This toggle will limit the color correction to only the skin colors of the image. Generally this is not needed, as the color cast on your subject is often the same as the color cast on the rest of the scene. It is useful if your subject is being lit by a different light than your background.
- Fade: The fade slider controls the overall strength of the color correction. If you find that the default value is too strong, try reducing it by increasing the fade slider.
- Warmth: The warmth control can be thought of as a saturation control as well. It controls how warm, or vivid the skin color is. Many consumer digital cameras produce over saturated skin color, by reducing the warmth slightly you can create more natural looking skin color. You can also adjust the warmth by moving the preview image up or down using the move tool or the up and down arrow keys.
 | Tip: When using the dropper tool it is important to click on a midtone, or properly exposed area of the subjects skin. Selecting a highlight or shadow may cause an incorrect adjustment. If your image contains multiple subjects, even of different ethnicities, you only need to sample one skin color as the color cast across both subjects is the same. |
| Note: The color corrections from SkinTune are applied before the color corrections made in the Color mode. It is best to use SkinTune before using the Color mode controls. |
See also