Home > Using PhotoTune > Using the Wizard
Better Images, Step-by-Step
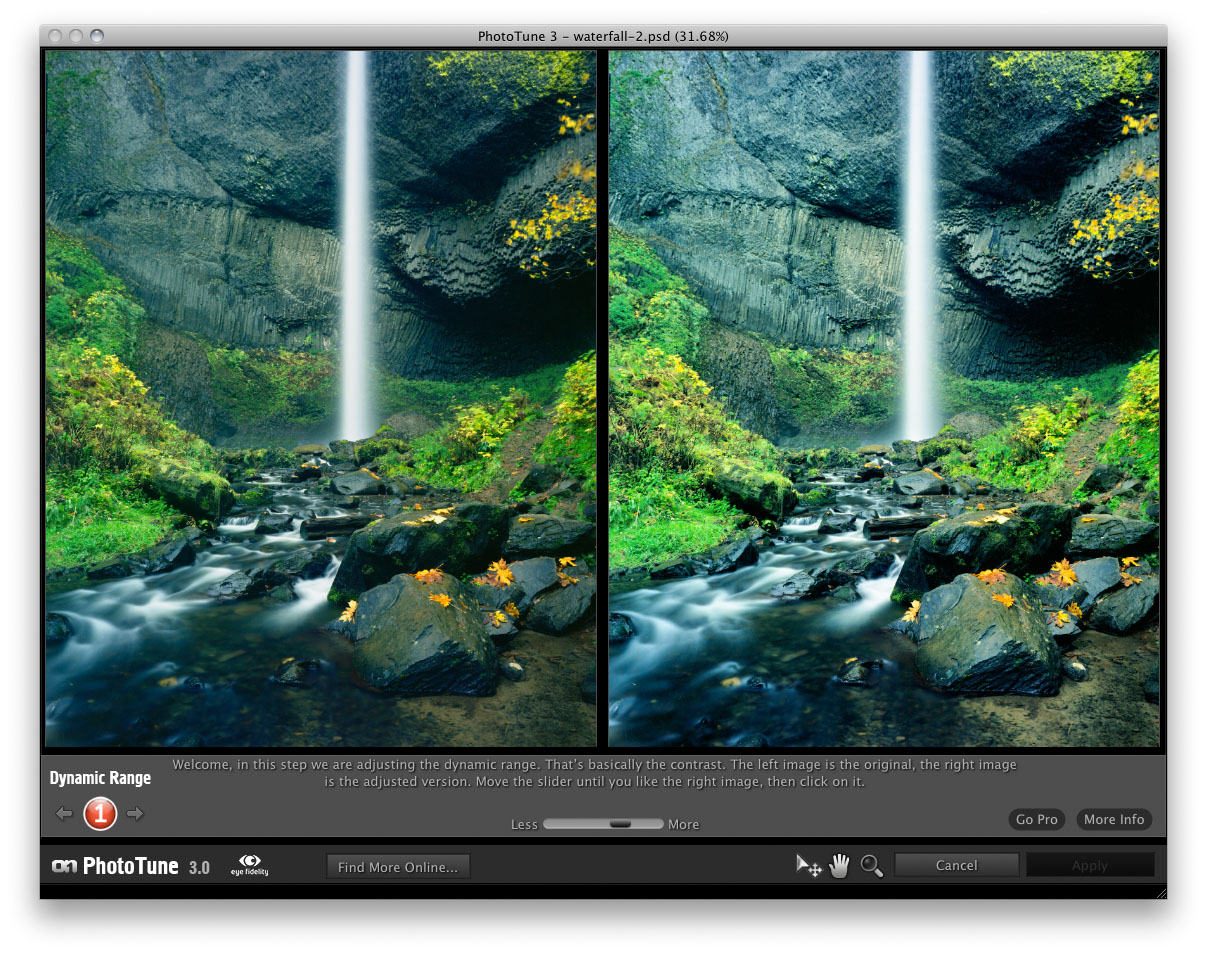
PhotoTune 3 is a patented color correction system that quickly and easily fixes an image’s dynamic range, exposure, and color balance. Color is by far the most difficult and important aspect of the correction process. The Wizard will dramatically speed up the correction process. Like an eye exam, your response to each step determines the direction of all subsequent steps. The first step is used to set dynamic range. Step two offers automatic color correction and step three adjusts the brightness. The following steps determine a color correction. More steps are required in the color section due to the complexity of color balance. Finally you have the option to add sharpness to your image. Here’s our best advice for making appropriate choices for each step:
- Relax and have fun, PhotoTune will do most of the work for you.
- Don’t over-analyze. Your first impression is usually your best choice.
- Choose vibrant, pleasing colors. A flat, dull appearance is usually a bad sign.
- Consider the overall appearance first, and then check important areas like a face, or an area that should be a neutral gray.
- Move the slider up and down to help decide which preview is better

See also