Home > Using Genuine Fractals > Batch Processing > Watermark Tab
Watermark Tab
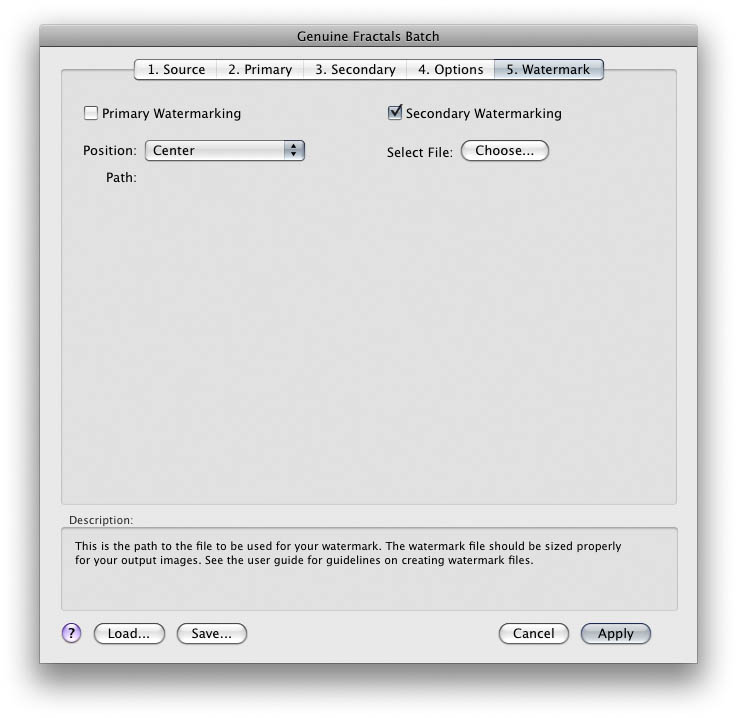
| The batch engine also allows you to add a visual watermark file to your batch processed files. This watermark is created from a source file of your choosing. You have the option to enable watermarking on either the primary, secondary or both images. You can choose where on the image the watermark will appear by selecting the position from the position pop-up. To select the file to be used for the watermark, press the Choose... button. It is important to properly prepare the file you wish to use for your watermark. Genuine Fractals simply pastes the watermark file into your new file. It does not resize or alter the watermark. Below are some guidelines for creating your watermark file.
|
 |
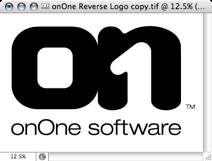 |
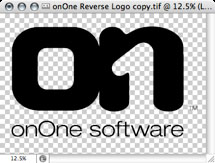
Open your logo file. In this case our logo is a single color black on a white background. |
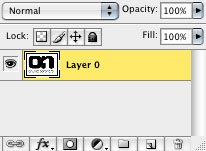 |
If your image consists of only a background, convert it to a layer by double-clicking on it in the layers palette. |
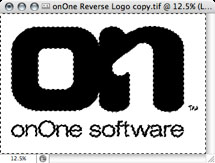 |
Use the magic wand tool in Photoshop and click on the white background. Assuming your logo is a crisp black on a clean white this should only select the white background. |
 |
Press the delete button to remove the white background leaving your logo on a ransparent checkerboard. |
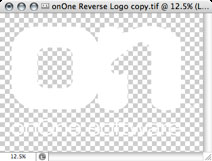 |
If you would like your logo to be white, invert your image by going to Image- >Adjust-Invert. You should now have your logo in white. |
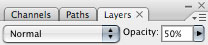 |
To reduce the opacity, change the opacity slider in the layers palette to approximately 50%. |
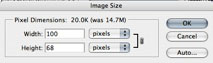 |
Resize your file to fit comfortably within your output files. In this case lets assume you are creating small JPEG files for your website which are a maximum of 600 pixels. We don’t want our logo to cover the entire image, but the center area,so use the Image Size dialog to size the file to about 100 pixels. |
 |
Finally save your file as a .PNG file. To the left is an example of the final watermark on an image using this technique. |
See also