Home > Using Genuine Fractals > Sharpening
Sharpening
|
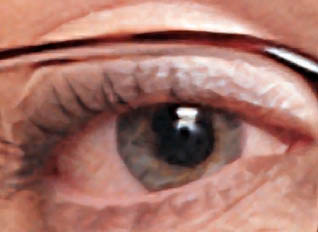
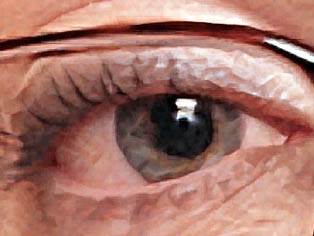
The sharpening pane contains the controls to add an Unsharp Mask style sharpening similar to what Photoshop provides. Using the Sharpening controls can save you the step of adding additional Sharpening before printing and can help compensate for loss of sharpness due to dot gain from your printer. Sharpening should only be applied at the end of your workflow just before printing. If you plan to do additional retouching or compositing work after resizing your image you should disable the Sharpening controls. |
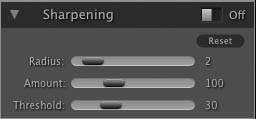 |
To sharpen your image for output use these steps after you have adjusted the Document Size pane controls.
|
|
 |
Tip: Keep in mind that this sharpening is applied to the entire image area. If you wish to use selective sharpening or a third party sharpening tool like Nik Sharpener you should disable the Sharpening controls in Genuine Fractals. |
See also