Home > Using Genuine Fractals > Tiling
Tiling
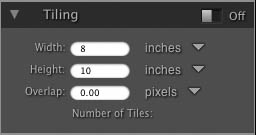
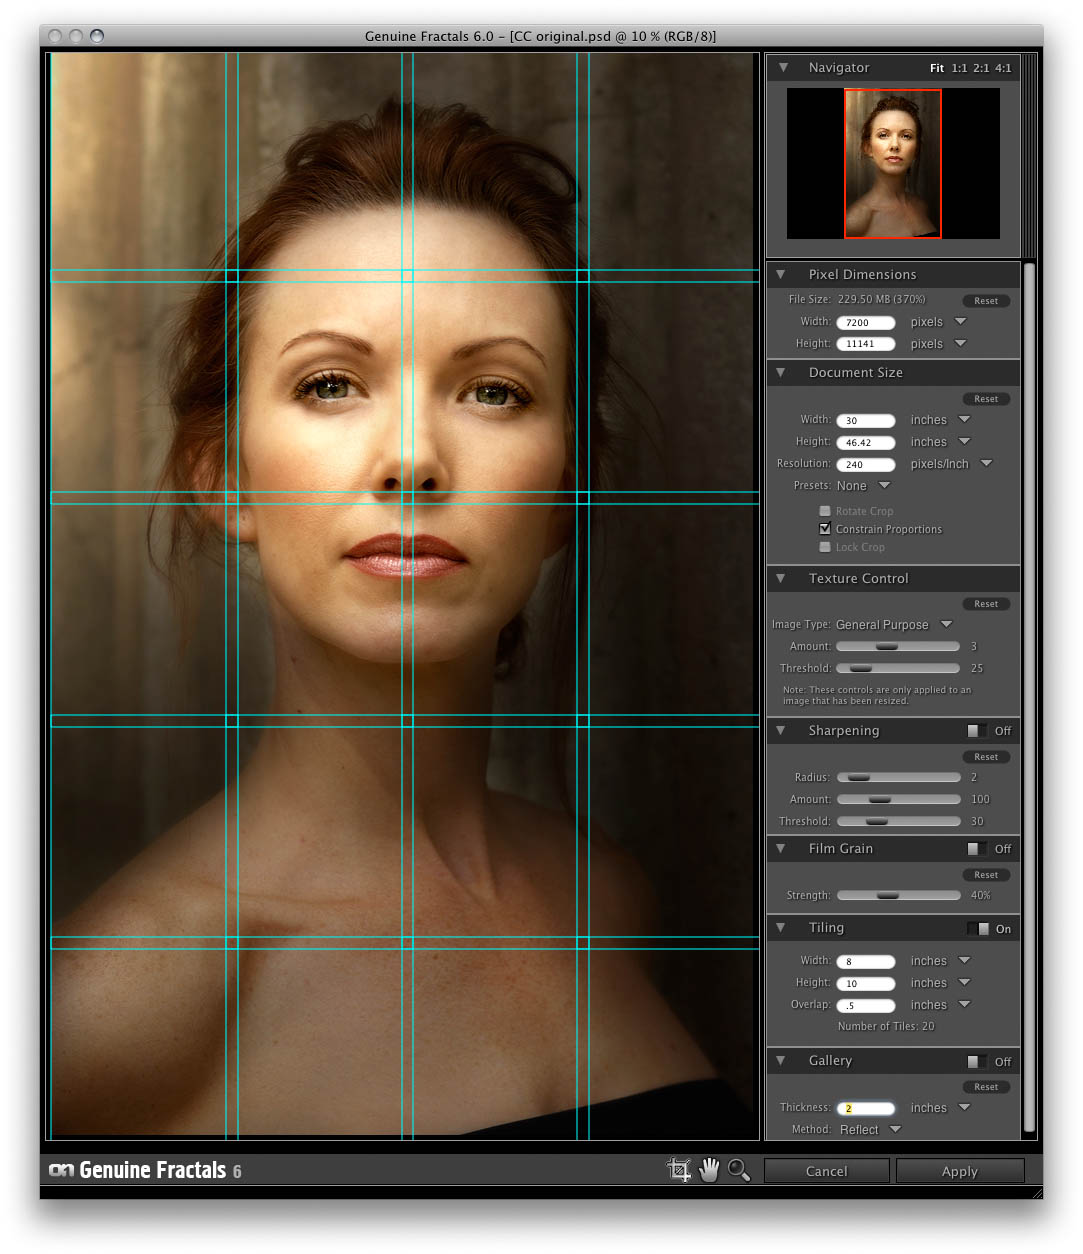
| The new tiling feature in Genuine Fractals 6 will divide an enlargement into pieces that can be printed on a smaller printer. Let's say you want to create a mural that is 8 feet tall by 12 feet long but your printer can only print 24 inch wide strips. With the tiling feature you could automatically create 4 separate files that are 24 inches wide and 8 feet tall so you can create your mural in sections. With the tiling feature all you need to do is specify the size of paper you have to print on and if you would like the pages to overlap at all. Then, Genuine Fractals 6 will resize your image and then break it down into the individual tiles. To use the Tiling feature, follow these instructions:
The preview will show cyan guide lines for each tile that will be created. At the bottom of the Tiling pane it will also tell you how many tiles will be created. |
  |
See also

Note: The Tiling and Gallery Wrap feature can not be used at the same time.