Home > Using FocalPoint 2 > Using the FocusBug > Using Multiple FocusBugs
Using Multiple FocusBugs
Managing Multiple FocusBugs
To create an additional FocusBug, click on the plus [+] icon in the FocusBug list at the bottom of the FocusBug pane. This will create another FocusBug and you will see it in the list. Your new FocusBug will be selected by default. Unselected FocusBugs will appear as round markers in the preview. | 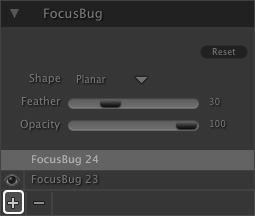 |
| You can determine which FocusBug is selected for editing with the FocusBug tool by clicking it to select it in the FocusBug list. Only one FocusBug can be selected at a time. You can adjust the size and position as well as Shape, Feather and Opacity seperately for each FocusBug you add. | 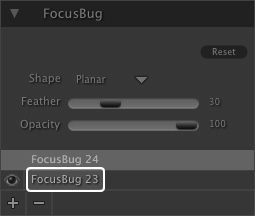 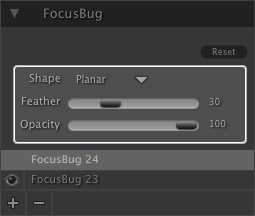 |
| You can turn off, or hide a FocusBug by clicking on the eye icon for that FocusBug in the list. This can be handy for previewing the effect of a single FocusBug or if you want to only use the FocusBrush or a selection from Photoshop instead of a FocusBug to control the sweet-spot. You can delete un-needed FocusBugs by clicking on the minus [-] icon in the FocusBug list. Keep in mind that you must have at least one FocusBug all the time. However you can hide it if you want. | 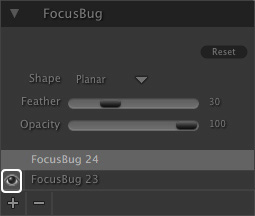 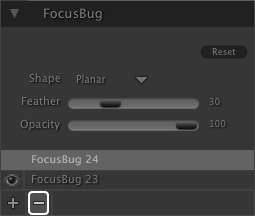 |
| | If you don't want to use any FocusBug at all, you can just turn off the default FocusBug. This allows you to blur the entire image or to use just the FocusBrush or a selection from Photoshop to apply the effect. |
Using Multiple FocusBugs in Practice
Below is an example of using multiple FocusBugs at the same time. The goal is to reduce the depth of field as the columns recede from the camera. Because there are two rows of columns, plus the foreground, this will require three planar FocusBugs to create a realistic look.
This is the original image. Notice that the row of columns on the left recede quickly and the row on the left recede slowly. This means that the feather of the FocusBugs will need to be different. See the examples below. |  | |
Lets start with the left side. Turn the first FocusBug to planar and rotate it to vertical. Then position it on the left edge of the frame and stretch it until the first two columns are in focus only. You may need to adjust the feather like you see in the mask view on the right. |  |  |
Now lets add another planar FocusBug focused on the right row of columns. This row recedes from the camera slower and at a shallow angle. This means we will need a longer feather on our FocusBug. Drag the FocusBug over the right edge of the image, twist it to vertical and stretch it out until it reaches about 2/3 of the way across the image. Now adjust the feather to change how quickly the background goes out of focus. Keep in mind that the second column of the left is roughly parallel to the first column on the right so they should both be in focus. | 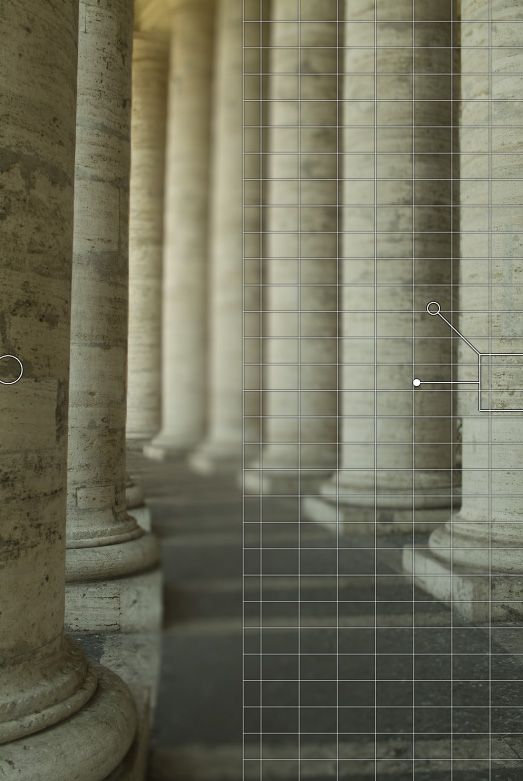 |  |
Okay, things are looking pretty good except for the path in the foreground which should be in focus as well. Add a third planar FocusBug, drag it to the bottom of the image and twist it to horizontal. Now adjust its height to just past the second column. |  |  |
There you have it. By using three FocusBugs together we have created a realistic change in the depth of field, creating more depth in a two dimensional image. |  |
See also